Are you considering switching to Windows 12? Excellent decision! It has enhanced performance and a ton of new features. However, how can it be installed without the inconvenience of complicated setups or DVDs? A bootable USB drive is a straightforward solution. I’ll walk you through the entire procedure step-by-step in this guide; there won’t be any jargon or confusion just easy-to-follow instructions.
For Windows 12, Why Use a Bootable USB?
The majority of people favor using a USB to install Windows for the following reasons:
- It’s Faster: Compared to traditional DVDs, USB drives are significantly faster.
- It’s Useful: DVD drives are becoming rare in modern laptops.
- It’s Transportable: Use your installation media on several devices and take it with you wherever you go.
What You’ll Need Before You Start
Make sure you have these necessities ready before we begin:
ISO File for Windows 12
Get it from the official Microsoft website. Steer clear of third-party websites, as they may be dangerous.
USB drive (at least 8 GB)
Although 8GB is the minimum, 16GB or more is preferable.
Reliable Internet Access
for later updates and ISO downloads.
Backup Your Data
Installing a Data Backup Your system drive will be erased by Windows. Store your crucial documents on an external drive or in the cloud.
First, make a USB drive that is bootable
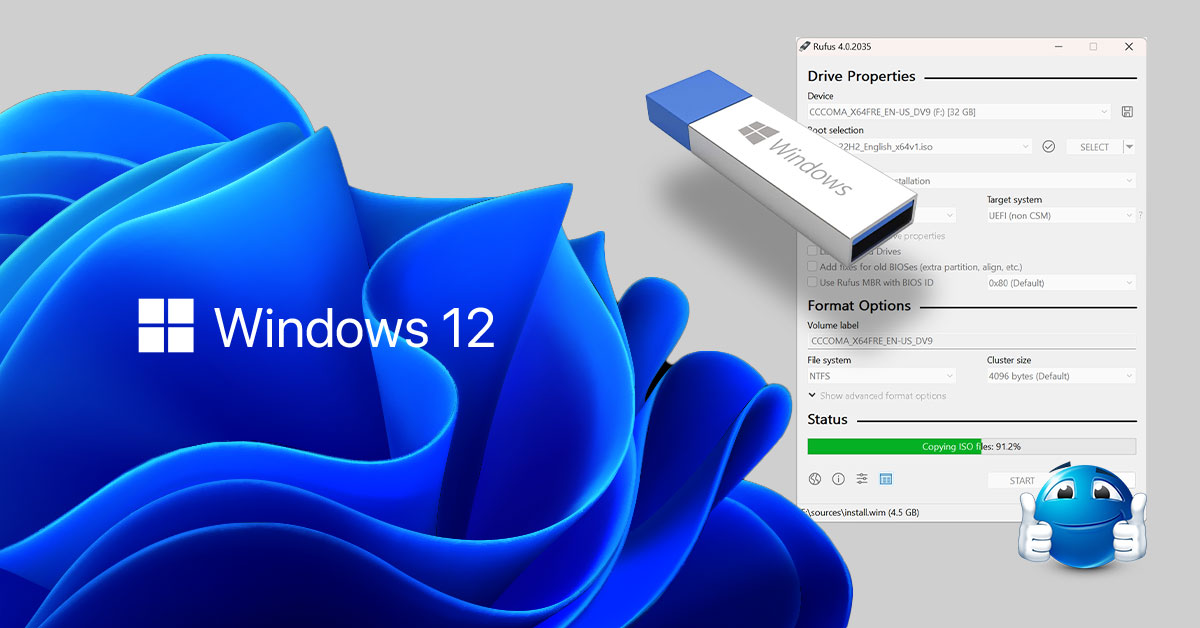
Your USB drive must be made bootable. Rufus and Microsoft’s Media Creation Tool are two well-liked tools for this.
With Rufus
- Rufus can be downloaded from its official website.
- Put your USB drive in.
- Choose your USB under Device when you launch Rufus.
- Select the Windows 12 ISO file under Boot Selection.
- Maintain the default configuration (GPT for UEFI systems).
- After you click Start, watch it to finish.
Using a Tool for Media Creation
- Get the Microsoft tool.
- Launch it, then choose “Create installation media for another PC.”
- Select the architecture, language, and edition (64-bit is standard).
- Choose a USB flash drive and adhere to the instructions.
Step 2: Set Up the UEFI and BIOS
You must configure your computer to prioritize the USB before you can boot from it:
- Enter BIOS/UEFI after restarting your computer (press F2, DEL, or ESC during startup).
- Select Boot Priority or Boot Order.
- Make your USB drive the boot device of choice.
- Save your edits and close the window.
Step 3: Set up Windows 12
Installing Windows 12 is now the exciting part:
- Restart your computer after inserting the bootable USB.
- When asked to boot from USB, press any key.
- Select your keyboard settings, time, and language.
- Select “Install Now.”
- To activate later, either enter your product key or choose “I don’t have a product key.”
- Select Custom: For a clean install, install Windows only (advanced).
- Choose the drive (typically Drive 0) on which you wish to install Windows.
- After clicking Next, let Windows take care of the rest. Your computer will restart several times.
Step 4: Final Configuration
After installation is complete:
- Use your Microsoft account to log in or make a local account.
- Set up your privacy settings.
- Use Windows Update to install drivers and updates.
- Reinstall your apps and restore your files.
Expert Advice for a Smooth Installation
Verify the System Requirements: Verify that your computer satisfies the requirements for
Windows 12.
Make Drivers Prepared: Get them from the website of your manufacturer.
Maintain Your Power: To prevent disruptions, use a UPS or keep your laptop plugged in.
Concluding
It’s easy, quick, and dependable to install Windows 12 from a bootable USB. You’ll quickly have a new, powerful operating system if you carefully follow these instructions. This approach is the simplest, whether you’re starting from scratch or upgrading.